DVD to Flash Converter
Install and run the program, and the main interface of the program pops up to you.
Browse in your DVD content:
Select under the VIDEO_TS folder for a title or a chapter to convert. Select respectively for your video property settings for audio, subtitle and angle.
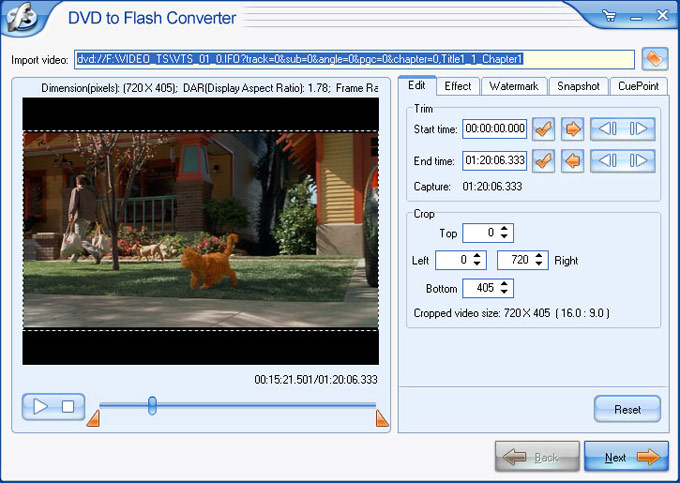
Under "Edit"
Trim: To get a video duration, with two ways.
1.Type in the time with 00(hour):00(minute):00(second):0(millisecond), and then click "tick" after.
2.Play the video and, click the arrows after the "Start time" and "End time" respectively to set the time point. Click the "forward" and "afterward" for precise time.
Crop: To get a video dimension, by two ways:
a. Drag the dot frame on the playing pane.
b. Type or select the values in the boxes of Top, Left, Right, and Bottom for the video dimension.
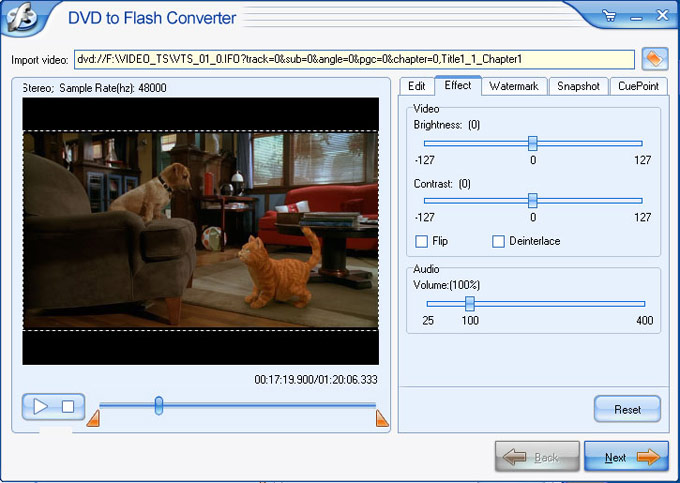
Under "Effect"
Video:
Drag the "Brightness" and "Contrast" sliders to adjust the video effects, with the result you can see in the playing pane instantly.
Flip: To turn the video upside down.
Deinterlace: To remove the interlaces for the analog videos for better display on computer system.
Audio:
Volume: Drag to adjust the original video volume for the destination file (percentage based).
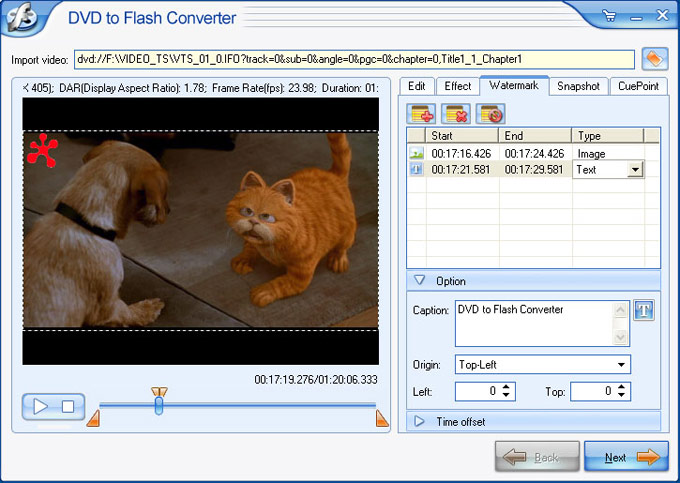
Under "Watermark"
Play the video, and at the time you want to add watermark, click "plus" icon, and select "Add image" or "Text" to your video.
"Add image"
Browse in the image from your computer, and set its position and size. For position, click Option>Origin for the values of Left, Width, Top, and Height. Click Offset> Start time & End time for the exact time point.
Fade in: type in the value (second) for the video to come in.
Fade out: type in the value (second) for the video to come out.
"Add text"
Under the Option, in the "Caption" box, type your text. Select in the "Origin" for the position of the text on the video, and the offset by the "Left", "Top" values. Click Offset> Start time & End time for the exact time point.
Fade in: Type in the value (second) for the video to come in.
Fade out: Type in the value (second) for the video to come out.
Under "Snap"
Check the box "Generate the current frame as the first frame of the output SWF file" and then click "Capture" to get a picture for the first frame of the video.

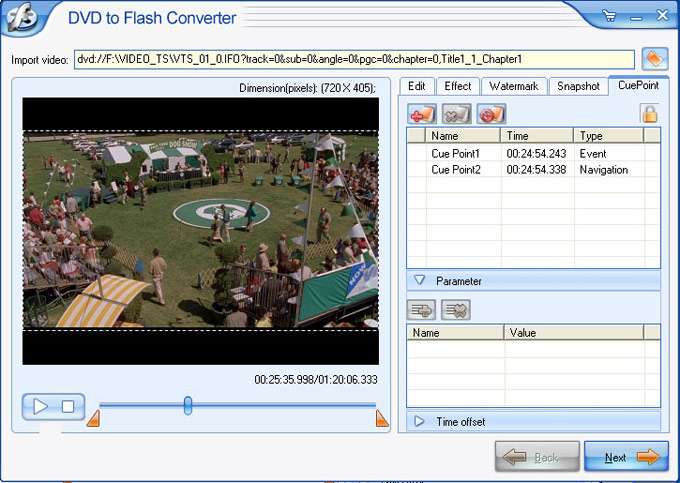
Under "Cue Point"
Play the video, and at the time you want the Cue Point, click "plus" icon, and select "Add Event" or "Navigation" to your video to interact with another element on a web page. You may, for example, want to display text, synchronize with a Flash animation, seek a different point in time in the video, or switch to a different video file together. Click "Offset" to precisely set the "Start time". Click "Next" to continue.
a. Set your output folder in "Export to…".
b. In Export
Check the target file you want to generate.
c. In Misc
Browse in videos for video prelude, curtain respectively, regardless of their format to sequence with the project.
d. Predefined profile: The selections in the droplist are profile of video parameters.
e. Check "Include video" to generate a file with video or uncheck it for audio file only.
Resize the video by adjust the Width and Height.
Video codec:
Sorenson H.263 is the traditional FLV video codec.
Flash 8 video codec is to encode videos with high quality, when the video bit rate is the same.
H.264 video codec is to encode videos with a higher quality (same bit rate) or smaller file size (same quality) to save bandwidth, reduce buffer times.
Frame rate: when the bite rate is the same, higher frame rate is to encode video with a smaller size.
Bit rate: It is the parameter for video size. The higher the bit rate is the smaller the video size is.
Keyframe interval: It is the time duration between key frames for keyframe seeking.
Fade in: Check to let the video gradually come into the player.
Fade out: Check to let the video gradually come out of the player.
f. Check "Include audio" to output a video with audio, or uncheck it for the video only.
Sample rate: The higher the sample rate is, the higher the audio quality will be.
Bit rate: It is for the audio compression. The higher the bit rate is, the smaller the video size is.
Channels: This is for the audio effects, including standard stereo and mono.
Fade in: Check to let the audio gradually come into the player.
Fade out: Check to let the audio gradually come out of the player.
After all the settings are done, click "Next" to continue.
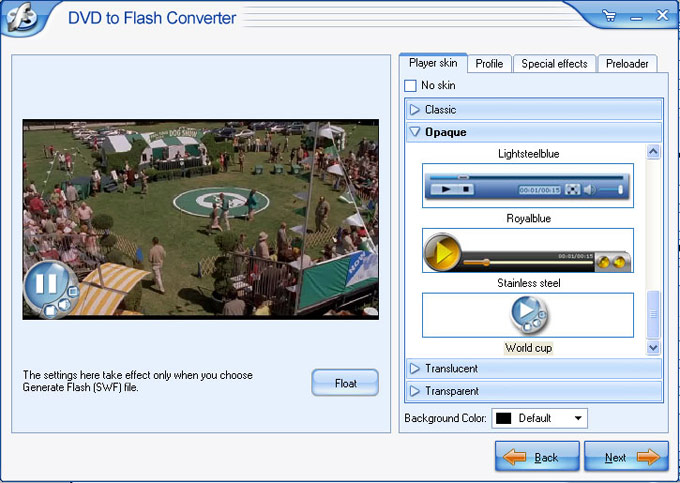
NOTE: If you have chosen to generate SWF file, then do the settings. If you have chosen to generate FLV file, then you do not have to do the settings below, as they take effects only in SWF file.
Player skin: Choose your Flash Player skin from the categories: Classic, Opaque, Translucent, and Transparent.
Background color: Choose or custom a color for your video background.
Under "Profile"
Select a Player profile in the droplist, or custom a profile and save it for later use by clicking "Save".

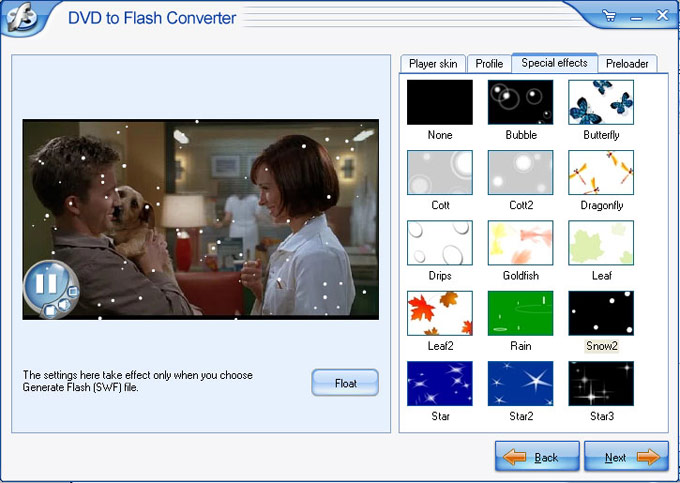
Under "Special Effect"
Choose among the dazzling video effects to enrich your video presentation.
Under " Preloader"
Choose among the brilliant preloaders for the video loading.
Click "Next" to continue.

Click "Start" to convert and, the destination fold will pop up to you when the conversion is finished.