How to convert video to F4V and upload to your website
F4V is a video file format which is developed by Adobe Flash. F4V file belongs to HD video, so this format has better quality than normal FLV format and is more suitable to stream on the internet. And if you are a web designer, you will know it and you also know there are not much software can convert video to F4V. But I find one and this article will tell you how to convert video to F4V format with Flash Video MX Pro.
What you need to do is follow these simple steps.
Step1. Download and launch this software.
After you launched it and imported your video file, you can see this interface:
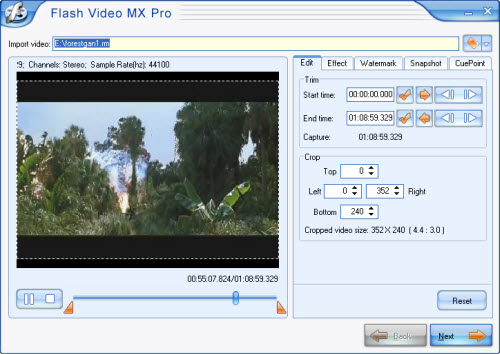
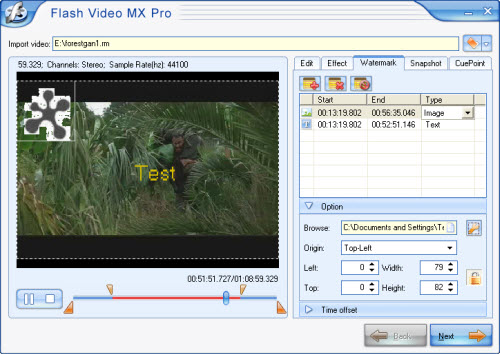
Here you also can edit your video file, like trimming and cropping, add watermark, add CuePoint or capture a snapshot. This software provides you two ways to add watermark: add text watermark and image watermark. You can see the effect in the following picture.
Step2. Convert video to F4V.
Press Next, you can see this interface.
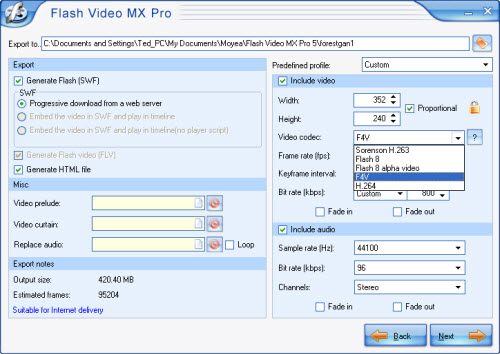
As you see, in Video codec section you can encode your video as F4V, Flash 8, Flash 8 with alpha or H.264. And if you choose F4V, you can generate a SWF file and a HTML file.
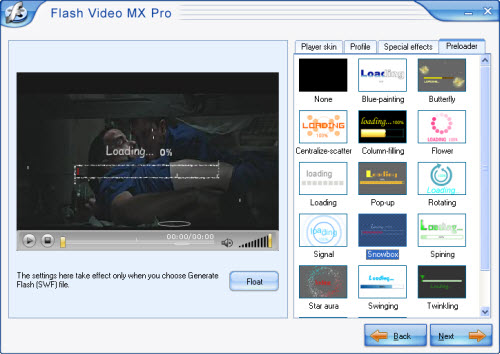
Step3. Add player and preloader.
Press Next, when you see this interface, that means you can add beautiful player skins and special effects on your video. These beautiful things can make your website bright.
Step4. Convert.
Continue press Next, and you can see the final interface. Here just press start, and wait a few minutes you can get your F4V file.
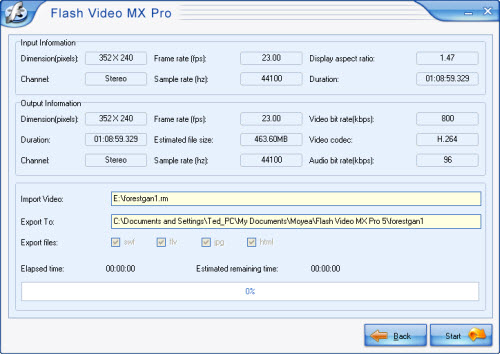
At last, you need to upload all the files together in the same folder to your website.
What you need to do is follow these simple steps.
Step1. Download and launch this software.
After you launched it and imported your video file, you can see this interface:
Here you also can edit your video file, like trimming and cropping, add watermark, add CuePoint or capture a snapshot. This software provides you two ways to add watermark: add text watermark and image watermark. You can see the effect in the following picture.
Step2. Convert video to F4V.
Press Next, you can see this interface.
As you see, in Video codec section you can encode your video as F4V, Flash 8, Flash 8 with alpha or H.264. And if you choose F4V, you can generate a SWF file and a HTML file.
Step3. Add player and preloader.
Press Next, when you see this interface, that means you can add beautiful player skins and special effects on your video. These beautiful things can make your website bright.
Step4. Convert.
Continue press Next, and you can see the final interface. Here just press start, and wait a few minutes you can get your F4V file.
At last, you need to upload all the files together in the same folder to your website.

More Flash Tools
Guide