This guide aims to share you the way of adding animated watermark to video and uploading online.
First, let's enjoy the video below:
The video is very impressive, especially the interesting animated watermark, right? That's why I can't help sharing with you immediately. Are you itching to try now? Come on, guys! Let's go.
1). Install and launch the Flash video MX Pro
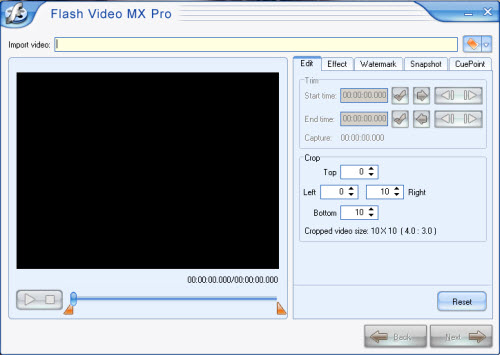
2). Input video
Input video into the program by clicking the button in the red pane: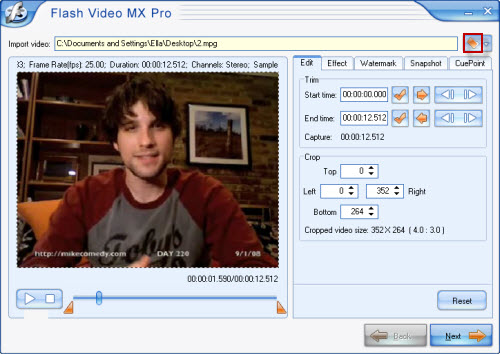
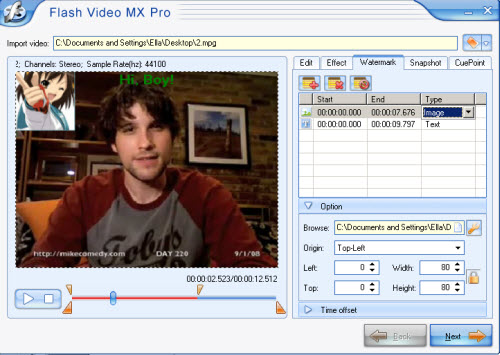
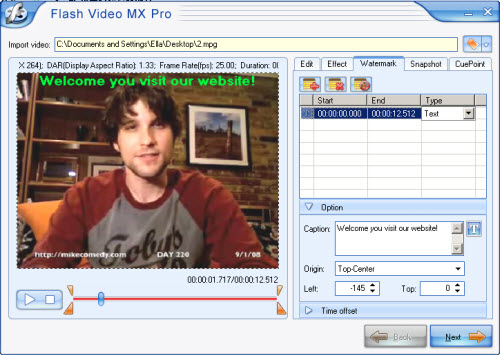
3). Watermark
Under this tab, you can add animated watermark as well as text as you like. Besides, the program has many other settings for your choice, such as cropping, trimming etc. If unnecessary, just forget it.A). Add image
Click![]() to add image or text, if you add image, you can make further adjustment to it, such as size, position etc.
to add image or text, if you add image, you can make further adjustment to it, such as size, position etc.
You are able to add images in JPEG, GIF, PNG, ICO, TIFF, and BMP. Here I'm using some animated GIFs.
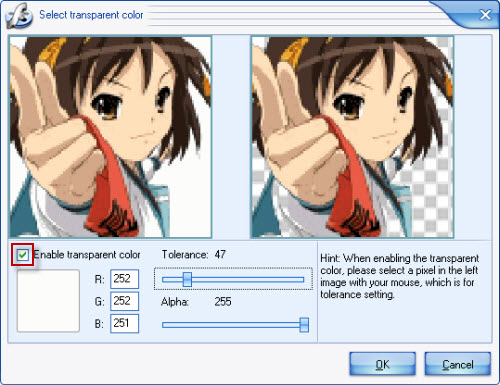
What's more, you can click![]() to enable transparent color by checking the red box:
to enable transparent color by checking the red box:
B). Add text
Reveal personality with adding text to the video, you can express thoughts and ideas fully by this function:

C). Capture
Generate a picture as the first frame of the video by checking the red box below to satisfy your demands:
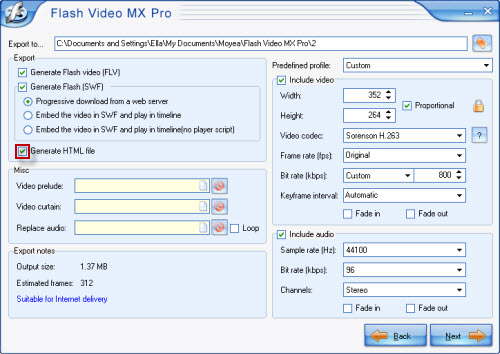
4).Generate
Check the red box to generate a HTML file.
5). Convert
Click "Start" to kick off the conversion.
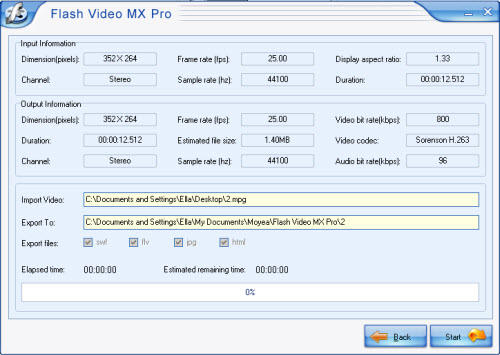
When the conversion is completed, upload all the generated files to the server for sharing. All the files should be in the same folder.
Note: You can share the video with anyone on the internet only when you replace the relative address of the SWF with its absolute address in the HTML file.